
Quickly Create a Flyer in Google Docs: Step-by-Step Guide
Looking to create a flyer in Google Docs quickly and professionally? Google Docs offers a simple yet powerful set of tools that let you design eye-catching flyers without investing in expensive software. Follow these step-by-step instructions to have your promotional material ready in minutes.
Step 1. Set Up Your Page
First, open Google Docs and start a new blank document. To optimize your layout for a flyer:
- Go to File > Page setup.
- Change the orientation to Landscape for a wider design, or Portrait if you prefer a vertical layout.
- Adjust margins to at least 0.5 inches so your content has enough breathing room.
- Select a custom page color under Page color to set the flyer’s background tone.
Step 2. Add a Striking Header
Your header is the first thing readers will see. To make it stand out:
- Click Insert > Drawing > + New.
- Use the text box tool to add a bold title. Experiment with different fonts, sizes, and colors.
- Save and close to insert the drawing into your document.
- Center the drawing and add space around it by adjusting padding in the Drawing menu.
Step 3. Incorporate Images and Graphics
Visual elements make your flyer more engaging. In Google Docs you can:
- Go to Insert > Image and choose from:
- Upload from computer
- Search the web
- Your Google Drive
- Resize images by dragging corners to maintain aspect ratio.
- Click on an image and choose Wrap text or Break text to flow around your text.
Step 4. Design Informative Sections
Break your flyer into clear blocks of information:
- Event Details: Date, time, location. Use bold headings for each detail.
- Key Features: List benefits or highlights using bullet points.
- Call to Action: Encourage readers to register, visit a website, or call a number.
Step 5. Use Color and Typography Effectively
Consistency in color and font choices creates a polished look:
- Choose 2–3 complementary colors and set them using the text color and highlight options.
- Select a maximum of two fonts—one for headers, one for body text.
- Maintain at least 14pt size for body text so it’s legible at a glance.
Step 6. Add Branding Elements
If you have a logo or brand guidelines, upload your logo via Insert > Image and position it in a corner. You can also:
- Create a footer with your website or social media handles using a small text box in the Drawing tool.
- Apply your brand’s color palette consistently to shapes and text boxes.
Step 7. Review, Download, and Print
Before finalizing:
- Proofread all text and ensure dates, times, and contact info are correct.
- Go to File > Download > PDF Document (.pdf) for high-quality printing.
- Alternatively, download as a PNG or JPEG to share digitally.
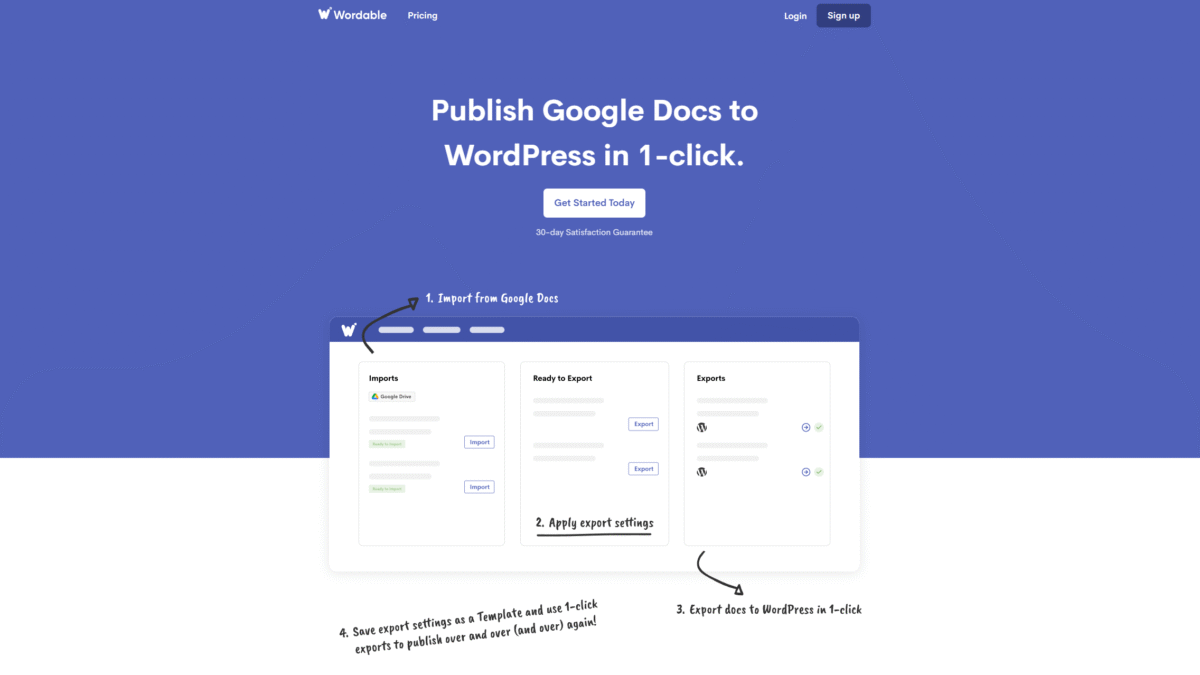
Step 8. Automate Your Blog Post with Wordable
Once your flyer is ready, you might want to publish a blog post announcing it on your WordPress site. Wordable lets you move your Google Docs content directly into WordPress with one click, preserving all your formatting, images, and alt text. No more manual copying or messy HTML fixes.
Get Started with Wordable Today and save hours on content publishing.
Tips for Success
- Keep your message concise—flyers work best when they focus on one core idea.
- Use high-contrast color combinations to ensure readability.
- Test print a draft at 100% size to check margins and image clarity.
With these steps, you can easily create a flyer in Google Docs that looks professional and drives engagement. And when it’s time to share your announcement online, Get Started with Wordable Today to automate your publishing process and keep your workflow seamless.