5 Easy Steps to Check an Email Address for Spam
If you need to check email address for spam before hitting send, these five easy steps will help you avoid bounces, protect your sender reputation, and keep your campaigns on track. Whether you’re running marketing blasts or simply want to ensure that your personal outreach doesn’t land in the junk folder, this guide walks you through every essential check. At the end, you’ll see how Bouncer streamlines the process with one-click verification.
Step 1: Evaluate the Sender’s Reputation
Email providers rely heavily on sender reputation to decide where to route incoming mail. Before anything else, use a free online tool to look up your sending domain’s score. If the reputation is low, take immediate action:
- Check for blacklisting on common blocklists (Spamhaus, Barracuda, etc.).
- Review recent sending volume spikes or unusual patterns.
- Authenticate your domain with SPF, DKIM, and DMARC.
Maintaining a healthy sending history reduces the chance of being flagged as spam.
Step 2: Inspect Your Email Server Configuration
Proper server setup is key to deliverability. Run an SMTP test to verify that:
- Your reverse DNS (rDNS) matches your sending domain.
- The server’s IP isn’t shared with known abusers.
- TLS encryption is enabled for secure delivery.
Misconfigurations here can cause major email providers to reject or junk your messages outright.
Step 3: Analyze the Message Headers
When a suspicious email arrives, examining its headers can reveal clues about its authenticity. You’ll want to:
- Confirm that SPF and DKIM passed the checks.
- Verify that the “From” and “Return-Path” domains align.
- Spot any unusual X- headers that might indicate spoofing.
Learning how to read headers empowers you to distinguish legitimate senders from spammers.
Step 4: Review Content for Spam Triggers
Even perfectly configured servers can fall short if your message content trips spam filters. Watch out for:
- Overly promotional language (“Buy now!”, “Limited time!”).
- ALL CAPS or excessive exclamation points.
- Embedded links that obscure the actual URL.
Tools like mail-tester.com let you verify your copy and subject lines to stay on the safe side.
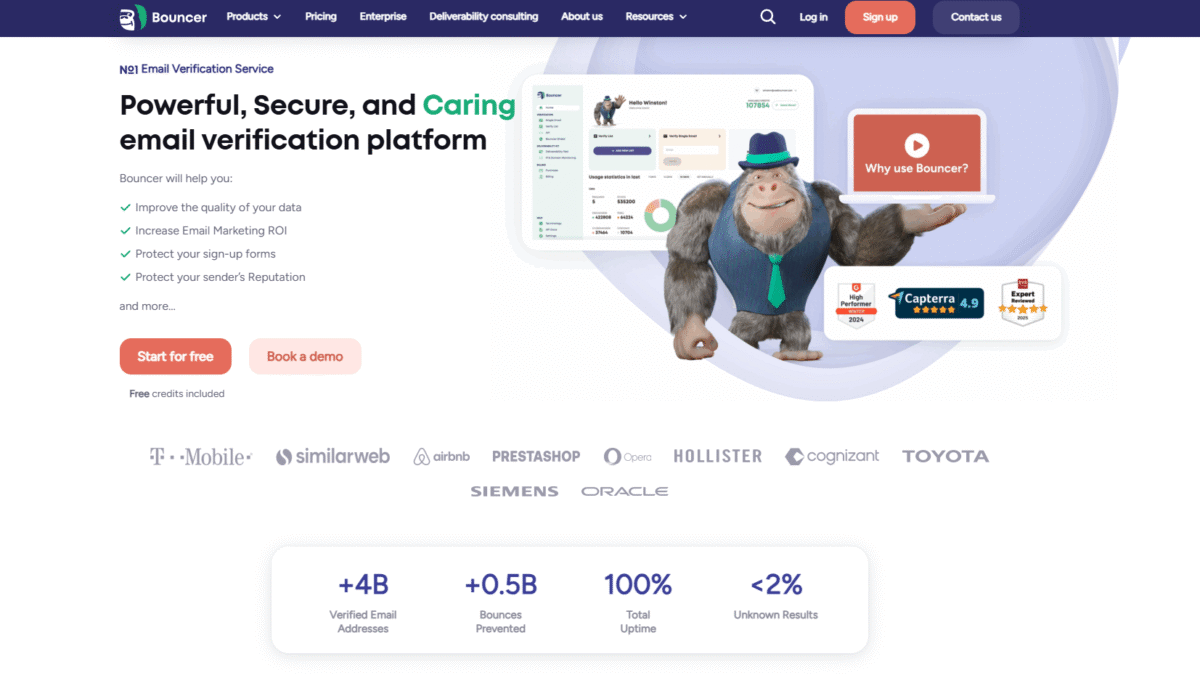
Step 5: Validate Recipient Addresses with Bouncer
The final—and often overlooked—step in your process is ensuring the email addresses on your list are real, active, and free of spam traps. That’s where Bouncer shines:
- Bulk-list cleaning to spot invalid or disposable addresses.
- Toxicity checks for spam traps, complainers, and breached accounts.
- Real-time email verification API to validate entries at signup.
With Get Started with UseBouncer for Free Today, you can automatically remove risky addresses and protect your sending reputation in minutes.
Conclusion
By following these five steps—evaluating your sender reputation, inspecting server configurations, analyzing headers, reviewing content, and verifying recipient addresses—you’ll dramatically reduce the chance that your messages end up in spam folders. For the quickest, most reliable way to check email address for spam and keep your lists clean, try Bouncer now. Get Started with UseBouncer for Free Today and watch your deliverability soar.
